How to Enter Full-Screen Mode in Your Hotwire Native App? - Part 1 Android
The default experience for hotwire native and native apps in general is to show the Top Bar at the top of you app but sometimes it’s advantageous to create a more immersive experience. A great example is when you press the full screen-mode on the YouTube app. This uses all available screen real estate so the user can enjoy the content.
To enable full-screen mode with a Hotwire Native application, I recommend two approaches.
- Using Path Configuration
- Using a Bridge Component
Let’s start with the first one. I’m going to assume that you have an Hotwire Native app. If you don’t, you can look at tutorials on my own site, the documentation or the Learn Hotwire course I built with Chris Oliver.
Prerequistes
We are running a simple Rails app that uses turbo.js and has both the Stimulusjs library and bridge component library installed.
/bin/importmap pin @hotwired/stimulus @hotwired/hotwire-native-bridge
Our Android app is built on top of the one created in this tutorial series
Full-Screen on a Per-Page basis via Path Configuration
This approach is best for when you want certain pages to be full-screen as soon as the user navigates to them. To do this, we need to create a new Fragment which is configured to be full-screen.
Let’s start by adding a new rule to our Path Configuration.
{
patterns: [
  "/work_outs/[0-9]+"
],
    properties: {
    context: "default",
    uri: "hotwire://fragment/web/full_screen",
    pull_to_refresh_enabled: true
  }
}
Now that the path configuration is setup, we can now start building the Hotwire Fragment.
@HotwireDestinationDeepLink(uri = "hotwire://fragment/web/full_screen")
class WebFullScreenFragment : HotwireWebFragment() {
    override fun onCreateView(
        inflater: LayoutInflater,
        container: ViewGroup?,
        savedInstanceState: Bundle?,
    ): View? = inflater.inflate(R.layout.fragment_web_full_screen, container, false)
}
The XML for this is as follows:
<?xml version="1.0" encoding="utf-8"?>
<androidx.constraintlayout.widget.ConstraintLayout
    xmlns:android="http://schemas.android.com/apk/res/android"
    xmlns:app="http://schemas.android.com/apk/res-auto"
    android:layout_width="match_parent"
    android:layout_height="match_parent">

    <include
        layout="@layout/hotwire_view"
        android:layout_width="match_parent"
        android:layout_height="match_parent"
        app:layout_constraintBottom_toBottomOf="parent"
        app:layout_constraintEnd_toEndOf="parent"
        app:layout_constraintStart_toStartOf="parent"
        app:layout_constraintTop_toTopOf="parent" />

</androidx.constraintlayout.widget.ConstraintLayout>
Finally, be sure to register it in our Hotwire config
Hotwire.registerFragmentDestinations(
    WebFragment::class,
    WebModalFragment::class,
    WebBottomSheetFragment::class,
    WebFullScreenFragment::class,
)
Full-Screen via Bridge Component
The second solution is use a Bridge component which allows us to toggle full-screen mode with the push of a button.
When writing Bridge Component, I like to start with the JavaScript.
Create a new Bridge component under app/javascript/controllers/bridge
import { BridgeComponent } from "@hotwired/hotwire-native-bridge"

export default class extends BridgeComponent {
  static component = "full-screen"

  connect() {
    super.connect()
    this.notifyBridgeOfConnect()
  }

  notifyBridgeOfConnect() {
    this.send("connect", {}, ({ data }) => {
      this.isFullScreen = data.isFullScreen
    })
  }

  toggle() {
    const newState = !this.isFullScreen
    this.send("toggle", { isFullScreen: newState }, ({ data }) => {
      this.isFullScreen = data.isFullScreen
    })
  }
}
We can then apply this to our markup.
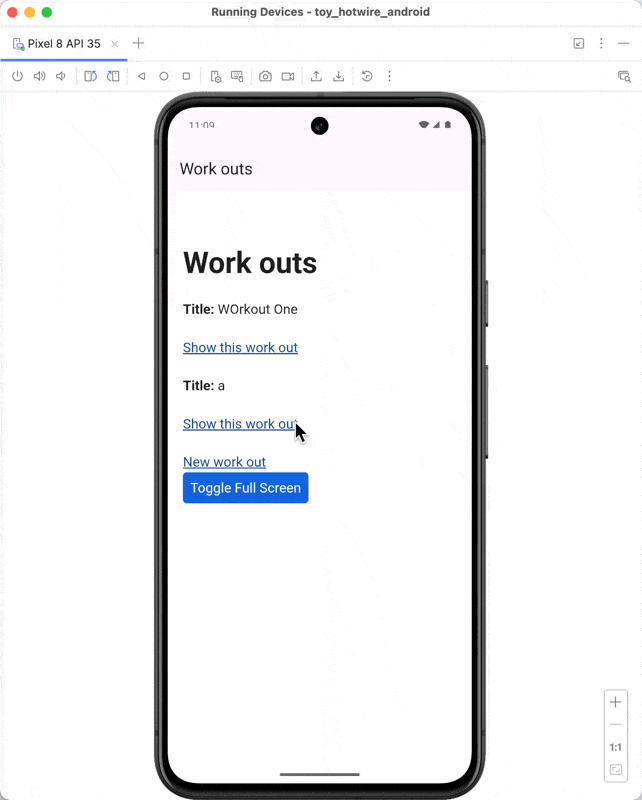
<div data-controller="bridge--full-screen">
  <button data-action="bridge--full-screen#toggle">
    Toggle Full Screen
  </button>
</div>
Finally, we just need to create the FullScreenComponent in our Android app, I usually put my components under the Bridge folder.
class FullScreenComponent(name:String, private val bridgeDelegate: BridgeDelegate<HotwireDestination>) : BridgeComponent<HotwireDestination>(name, bridgeDelegate) {
    private val fragment: Fragment
        get() = bridgeDelegate.destination.fragment

    private val appBar: AppBarLayout?
        get() = fragment.view?.findViewById(R.id.app_bar)

    override fun onReceive(message: Message) {
        when (message.event) {
            "connect" -> handleConnect()
            "toggle" -> handleToggle(message)
            else -> {}
        }
    }

    private fun handleConnect() {
        Log.d("FullScreenComponent", "handleConnect")
        val isFullScreen = appBar?.visibility == View.GONE
        replyTo("connect", MessageData(isFullScreen = isFullScreen))
    }

    private fun handleToggle(message: Message) {
        val data = message.data<MessageData>()
        val shouldBeFullScreen = data?.isFullScreen ?: (appBar?.visibility != View.GONE)

        appBar?.visibility = if (shouldBeFullScreen) View.GONE else View.VISIBLE

        replyTo("toggle", MessageData(isFullScreen = shouldBeFullScreen))
    }

    @Serializable
    data class MessageData(
        val isFullScreen: Boolean = false,
    )
}
Don’t forget to register it in our Hotwire config.
Hotwire.registerBridgeComponents(
    BridgeComponentFactory("full-screen", ::FullScreenComponent),
)

Note
Just to note, if you have tabs, you’ll need to also mark these as hidden.
In the next article, we’ll tackle the full-screen mode on iOS.