Hotwire Native iOS Part 1
One of my most popular blog post series is about getting up and running with Turbo Native. I’m a big fan of the library from a sheer business perspective. It saves a lot of time and money because you can avoid building the same screen for each platform without indulging in building a dedicated native team.
There has been an exciting development in the space and just before Rails World 2024, 37-Signals along with the legend that is Joe Masilotti, released Hotwire Native.
Hotwire Native presents a complete evolution from the previous libraries of turbo-native-ios and turbo-native-android in terms of developer ergonomics. Setting up a native companion app to your web app is easier than ever.
So in this series of tutorials, we’re going to explore Hotwire Native, starting with iOS than moving on our merry way to Android.
Background (feel free to skip)
I assume most readers of this site are already familiar with Hotwire but let’s just give a quick background.
Hotwire is a collection of libraries for the Web, iOS and Android that focus more on the ergonomics of marking up the HTML that you render from the server. This is in contrast to something like a Single Page Application framework such as React which generates the HTML on the fly and “Reacts” to state changes based on input, usually from a JSON endpoint.
At the heart of Hotwire is a library called turbo.js which handles page navigations without a doing a full browser page reload as well as few extras such as caching.
The benefits of working with a library such as turbo.js is that you get a lot of the benefits of an SPA without the development downside that comes with SPA’s.
Let’s Setup Our Rails App
Hotwire Native has a symbiotic relationship with turbo.js. As long as you have turbo.js handling navigation, you’re good to go. You can use turbo.js with any backend framework but it comes as a default with Rails.
If you don’t have a app ready, let’s create one quickly. I’m assuming that you have rails 7.2+ installed.
rails new hotwire_native_todo
Create a quick scaffold.
rails g scaffold Todo title:string complete:boolean
Migrate the database.
rails db:migrate
Now let’s set the home page to the todos index.
In our config/routes.rb
Rails.application.routes.draw do
  resources :todos
  root "todos#index"
end
Finally, to make it look pretty, lets add simplecss to our application layout.
<!DOCTYPE html>
<html>
  <head>
   ...
    <link rel="stylesheet" href="https://cdn.simplecss.org/simple.min.css">
  </head>
<body>
   ...
So now we start the rails server then move on to our iOS app.
bin/rails s
When you navigate to localhost:3000, you should see your shiny new Rails app.
Setting up the iOS app
There are some steps involved with setting up the iOS app.
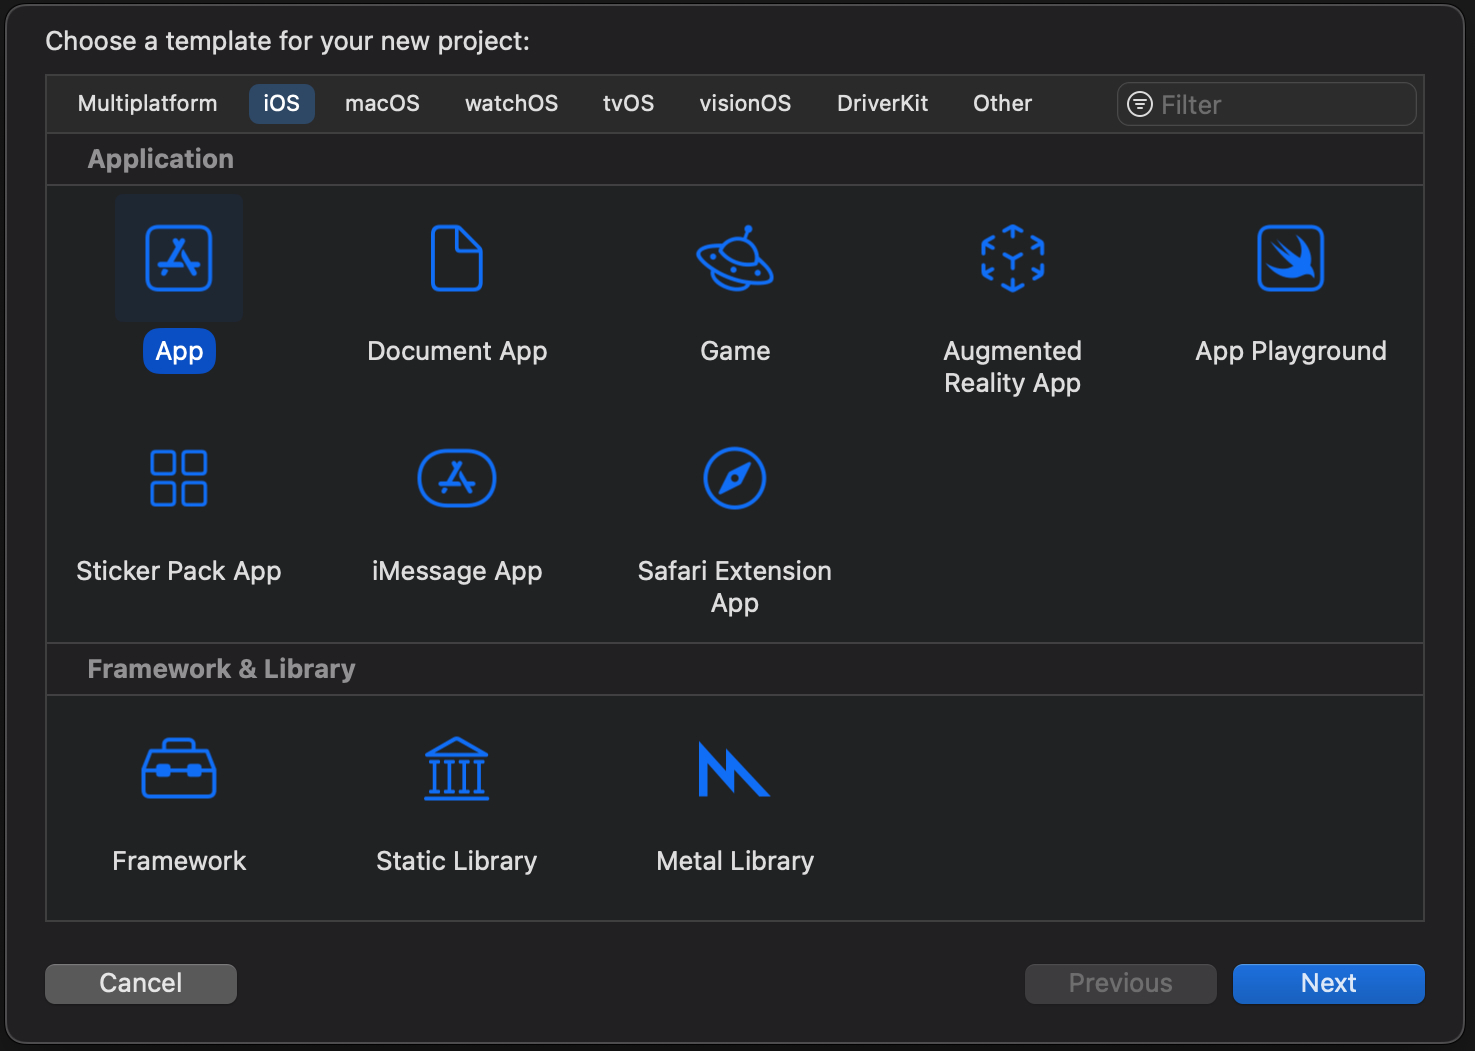
1. Open Xcode and create a new iOS app via File → New → Project. Be sure to pick Storyboard and not SwiftUI.
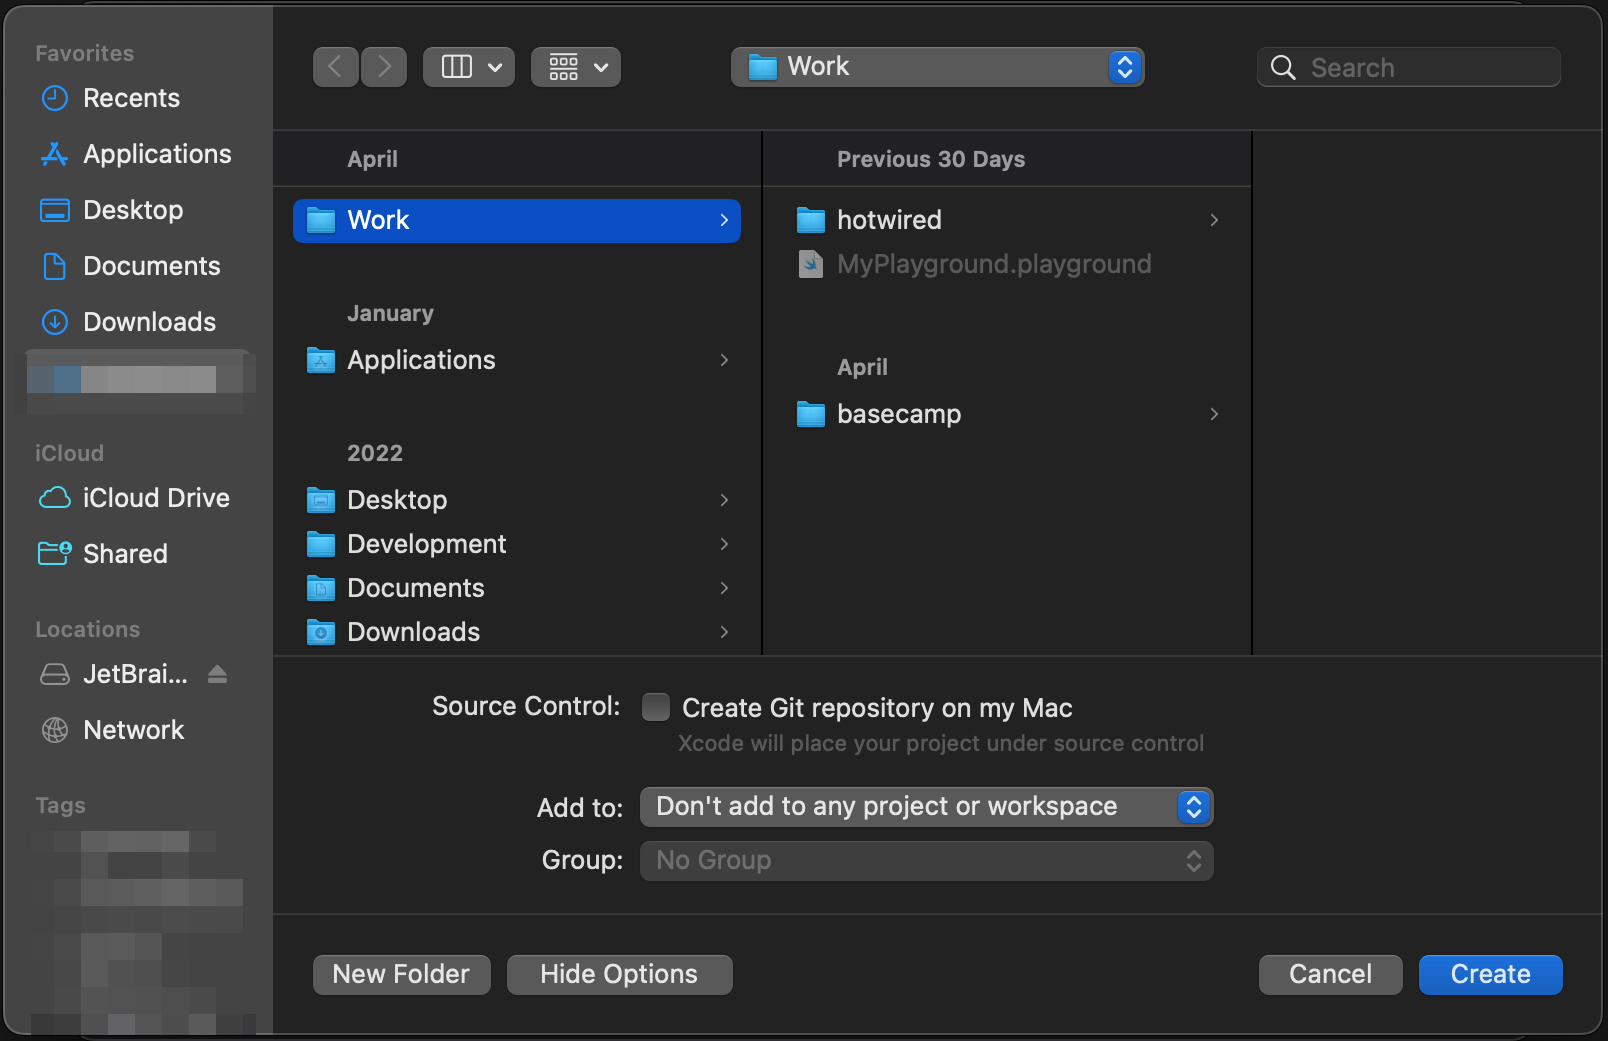
2. Select where to save the project and click Create.
Integrate Hotwire Native
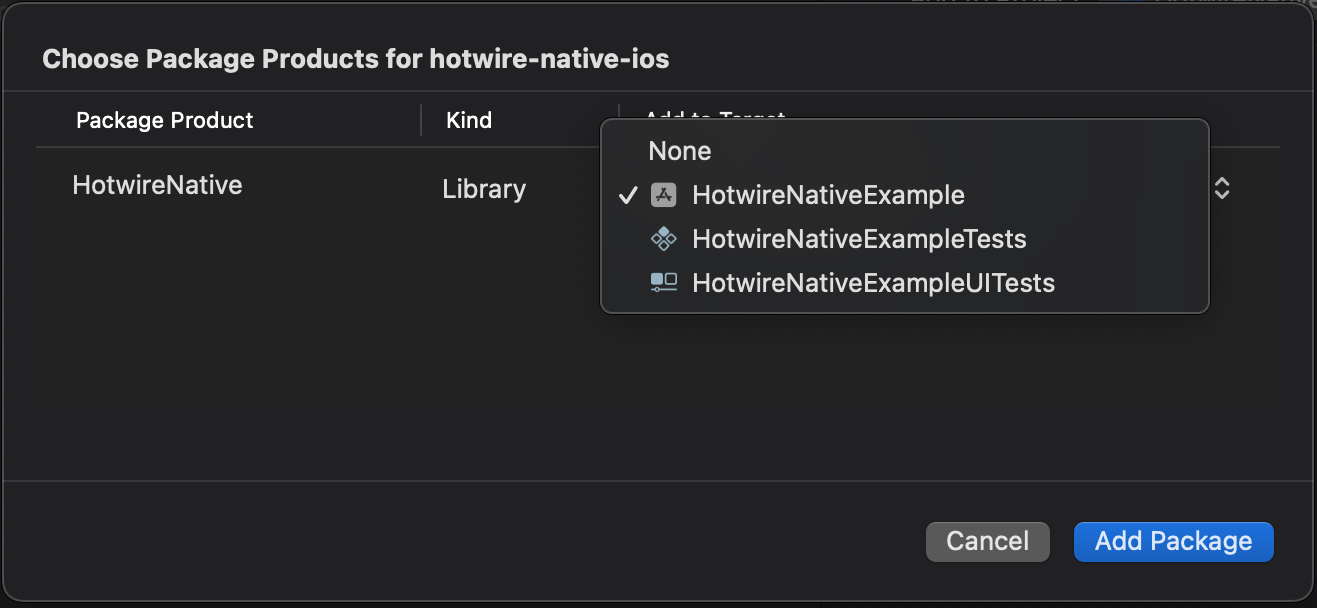
Next, add the Hotwire Native package via File → Add Packages Dependencies and enter https://github.com/hotwired/hotwire-native-ios in the search field. Make sure your project is correctly set under “Add to Project“ and click Add Package.

Once the package has been downloaded, select your app name under “Add to Target“ and click Add Package.
Finally, open SceneDelegate and replace the entire file with this code:
import HotwireNative
import UIKit
let rootURL = URL(string: "http://localhost:3000")!

class SceneDelegate: UIResponder, UIWindowSceneDelegate {
  var window: UIWindow?

  private let navigator = Navigator(configuration: Navigator.Configuration(name: "main", startLocation: rootURL))

   func scene(_ scene: UIScene, willConnectTo session: UISceneSession, options connectionOptions: UIScene.ConnectionOptions) {
        window?.rootViewController = navigator.rootViewController
        navigator.start()
    }
}
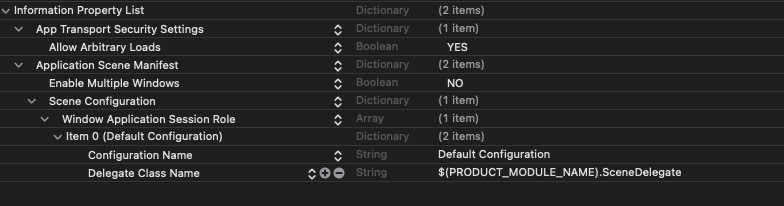
Let’s configure our app to allow traffic from localhost.
Navigate to Info.plist and click Add Row
Type App Transport Security Settings and then click the “+” to set Allow Arbitrary Loads to true

Next, under Application Scene Manifest > Scene Configuration, remove “Storyboard name” so your Info.plist looks like this.
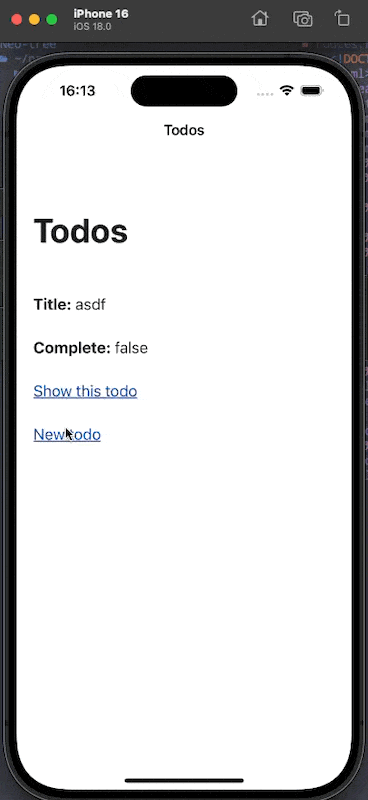
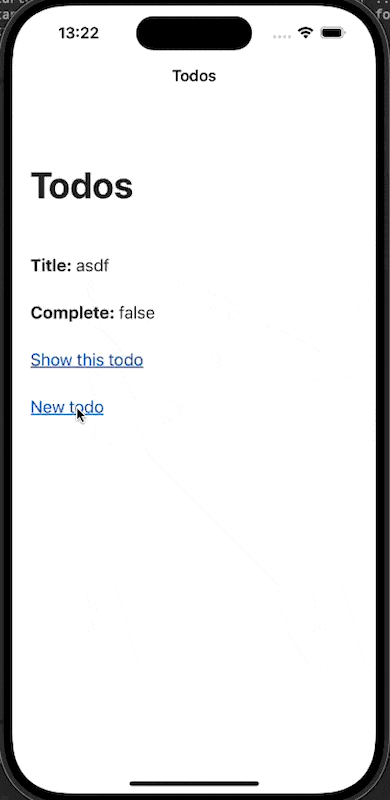
Now you should be able to press CMD + Run and voila, you have a shiny iOS app serving all your server-side HTML.
Feel a bit more native with Path Configuration
We get a lot out of the box with Hotwire Native, but we can go a little further.
Let’s present a nice modal for each form for each route that ends with /new or /edit. The best way to do is to introduce Path Configuration.
Path Configuration is a file that lives in your native app or on your server(or both) allowing you to dictate how the native app should display certain content.
Create a new file called path-configuration.json and add the following:
{
  "settings": {},
  "rules": [
    {
      "patterns": [
        ".*"
      ],
      "properties": {
        "context": "default",
        "pull_to_refresh_enabled": true
      }
    },
    {
      "patterns": [
        "/new$", "/edit$"
      ],
      "properties": {
        "context": "modal",
        "pull_to_refresh_enabled": false
      }
    }
  ]
}
Now tell our Navigator class about the path configuration file. Change your AppDelegate to the following:
import HotwireNative

@main
class AppDelegate: UIResponder, UIApplicationDelegate {


    func application(_ application: UIApplication, didFinishLaunchingWithOptions launchOptions: [UIApplication.LaunchOptionsKey: Any]?) -> Bool {

        let localPathConfigURL = Bundle.main.url(forResource: "path-configuration", withExtension: "json")!
        Hotwire.loadPathConfiguration(from: [
            .file(localPathConfigURL)
        ])
        return true
    }
}
Build and run the app again (CMD + R). We should see a modal popup whenever you go navigate to a route ending in /new or /edit.
In the next post, we are going to dive into adding a native screen to our iOS app.